In today's digital landscape, accessing websites efficiently is critical. While many people simply enter a URL into a web browser and enjoy seamless browsing, understanding the mechanism behind this process can be fascinating. In this blog, we'll discuss Domain Name System (DNS), how it work, and even guide you through building your own DNS server!
1. What is DNS?
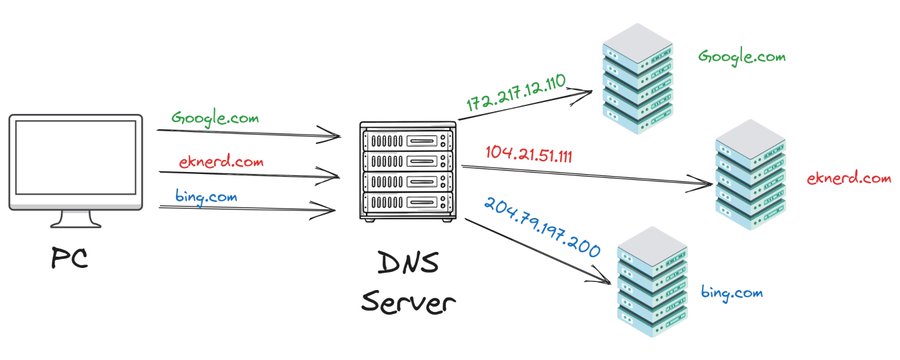
DNS stands for Domain Name System. It's an essential part of the internet's architecture that translates domain names (like eknerd.com) into IP addresses (like 192.168.0.1). Think of it as the internet's phone book, mapping memorable domain names to the less intuitive numeric IP addresses required to access servers.
2. Why Do We Need DNS?
Imagine trying to remember every IP address of the websites you visit. That's impractical, right? DNS abstracts this complexity by allowing us to use readable domain names instead. For instance:
Domain name:eknerd.com
IP address:
93.184.216.34
The DNS system facilitates this translation seamlessly whenever a browser makes a request.
3. How Does DNS Work?
Browser Query: The user enters a URL (eknerd.com) into the web browser.
DNS Server Lookup: The browser queries the DNS server to find the IP address of eknerd.com.
Root Server: The DNS server queries the root server to identify which top-level domain (TLD) server (like
.com) knows about eknerd.com.TLD Server: The TLD server points to the authoritative DNS server managing eknerd.com.
Authoritative DNS Server: The authoritative DNS server provides the IP address (
93.184.216.34) to the DNS server.Website Loading: The DNS server returns this IP address to the browser, which then loads the requested website.
Here's a diagram depicting the DNS process:
4. Types of DNS Records
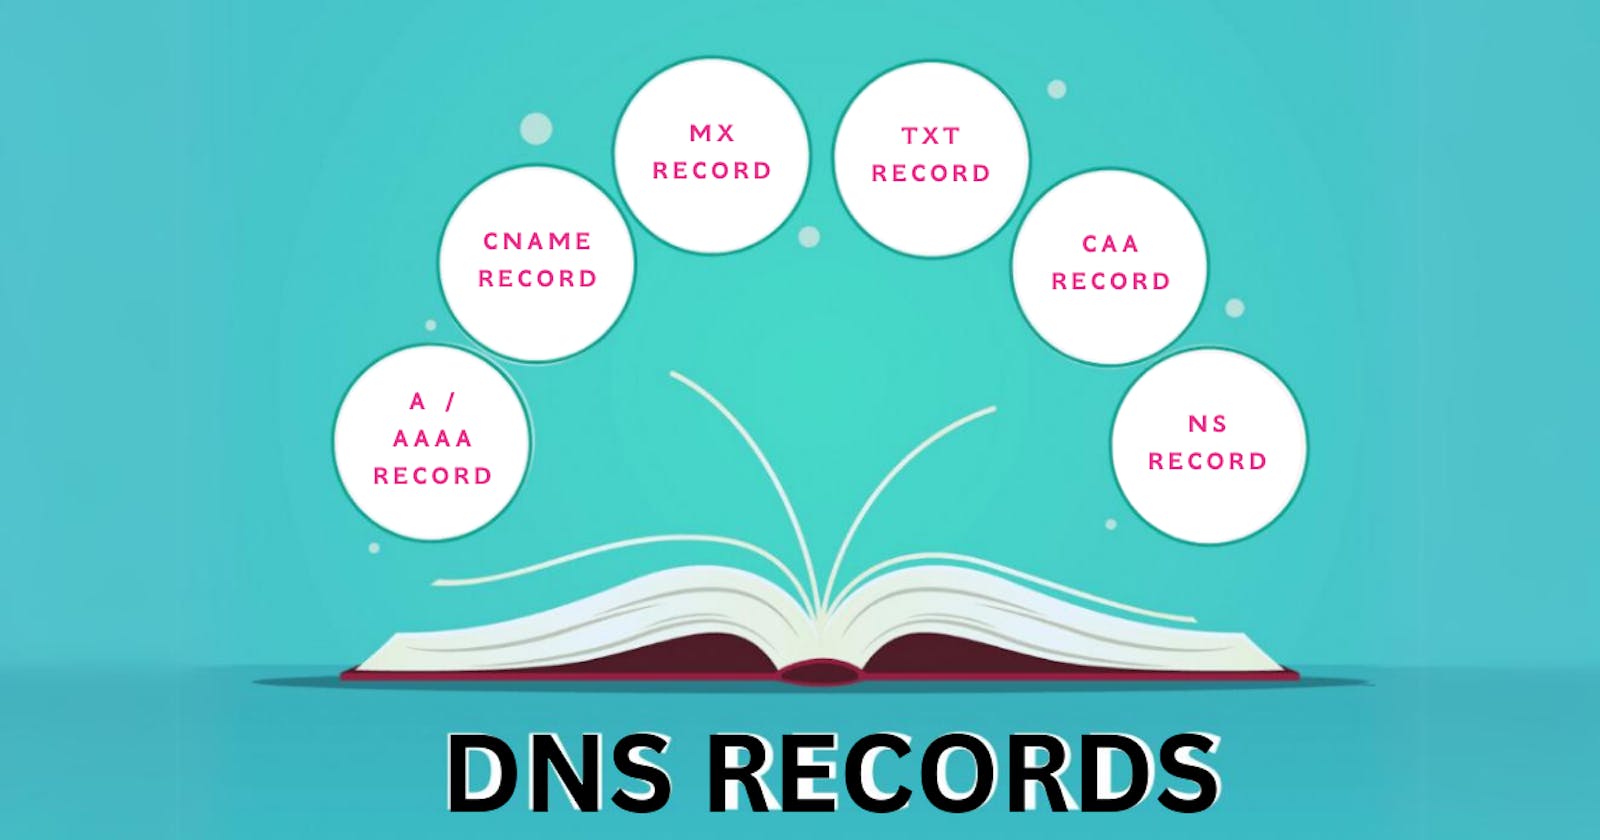
A Record: Maps a domain to an IPv4 address.
AAAA Record: Maps a domain to an IPv6 address.
CNAME Record: Maps a domain to another domain (aliasing).
NS Record: Specifies the authoritative DNS server for a domain.
MX Record: Indicates the mail server responsible for receiving emails.
TXT Record: Holds arbitrary text data, often used for email verification.
5. Building Your Own DNS Server
Requirements
Node.js: JavaScript runtime to build the server.
Redis: (Optional) For caching DNS records.
Steps
Step 1: Setup Node.js Project
Initialize Node.js Project:
 mkdir my-dns-server && cd my-dns-server
 npm init -y
Install Dependencies:
npm install dgram dns-packet
Step 2: Create Basic DNS Server
Create
index.js:const dgram = require('dgram'); const dnsPacket = require('dns-packet'); const server = dgram.createSocket('udp4'); const PORT = 53; const DNS_DB = { "eknerd.com": "93.184.216.34", "sub.eknerd.com": "93.184.216.35", "alias.eknerd.com": "eknerd.com", }; server.on('message', (msg, rinfo) => { const query = dnsPacket.decode(msg); const question = query.questions[0]; let answer = null; if (DNS_DB[question.name]) { answer = { name: question.name, type: question.type, class: question.class, ttl: 300, data: DNS_DB[question.name], }; } const response = dnsPacket.encode({ id: query.id, type: 'response', flags: dnsPacket.RECURSION_DESIRED, questions: query.questions, answers: answer ? [answer] : [], }); server.send(response, rinfo.port, rinfo.address); }); server.bind(PORT, () => { console.log(`DNS server running on port ${PORT}`); });Run DNS Server:
node index.js
Step 3: Test Your DNS Server
Configure Local System to Use Your Server:
On Mac/Linux: Modify
/etc/resolv.conf.On Windows: Adjust settings via Network Connections.
Test Using
dig:dig @localhost eknerd.com
6. Conclusion
Building a DNS server offers insights into how the internet functions behind the scenes. While this implementation is basic, it provides a starting point for understanding DNS and exploring further. You are welcome to expand your server to support more records or implement caching with Redis for better performance.


